How to Filter the datatable in excel using uipath

Those who have just started the UiPath journey know quite well how important Data Table is while working with UiPath Studio. Equally important are the operations we perform on Data Table to get the desired result.
Studio has a very cool and handy activity for filtering Data Tables. At the same time, there are some quick ways in which you can filter data even if you do not have coding experience. Once you start using Data Tables, you will quickly get used to them.
So, let’s start with the cool option: the default filter Data Table activity for Studio.
To filter a DataTable in Excel using UiPath, you can follow these steps:
Step – 1 :
Open UiPath Studio and create a new project or open an existing one.
For instance, let us take an example of data from Excel to be filtered. In this case, we are using an example.xlsx excel sheet.
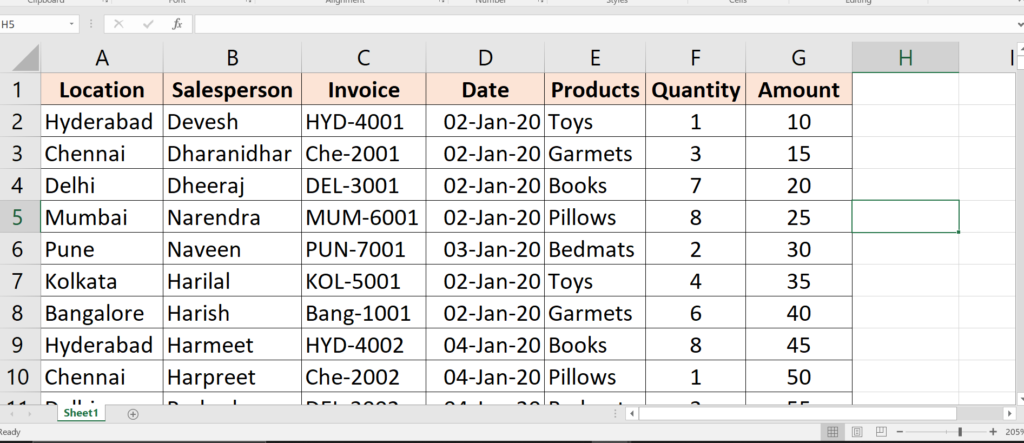
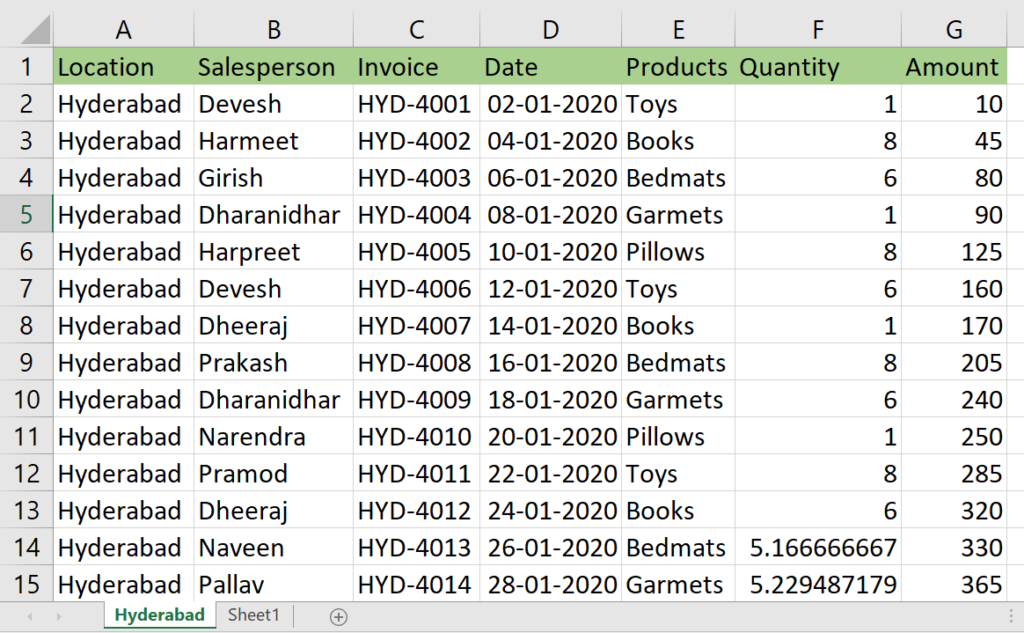
Here, We have data of 1500. We need to filter and extract the data where location is “Hyderabad”.
Step – 2: Excel Application Scope Activity
Drag and drop an “Excel Application Scope” activity onto the workflow.
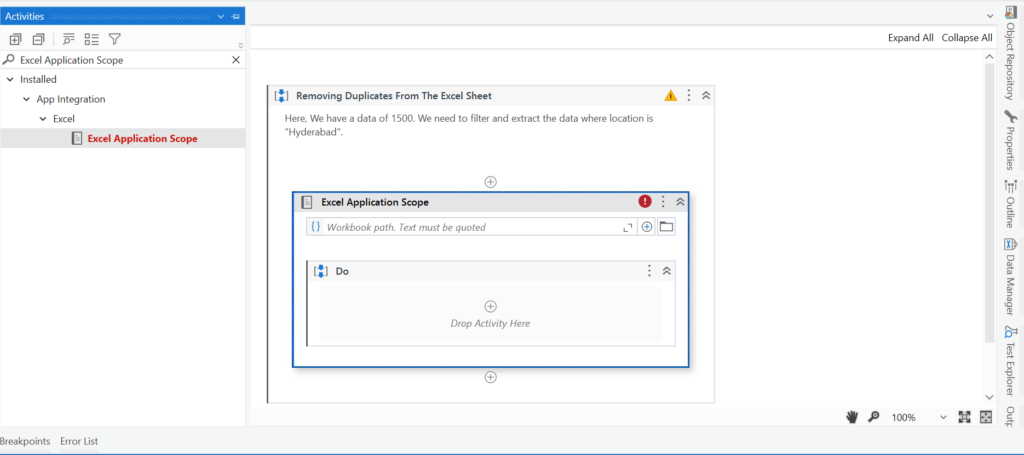
Now, insert The path of Excel file into the workbook path( in quotes). For this example, it is – “C:\Users\Dell\Documents\UiPath\Filter_DataTable\example.xlsx”.

Step – 3 : Read Range Activity
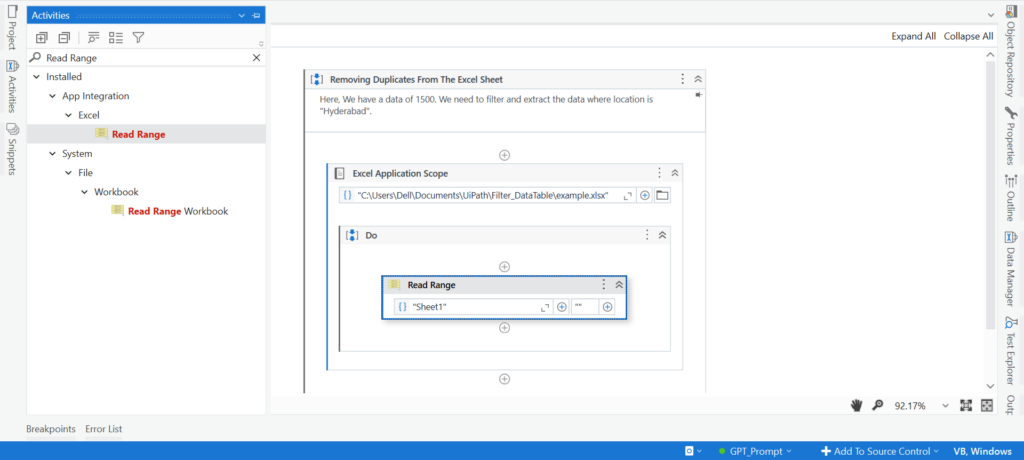
Inside the Excel Application Scope activity, use the “Read Range” activity to read the data from the Excel file into a DataTable variable. Specify the range you want to read, else keep the field empty to read all the data from excel. Here, the sheet name is “Sheet1” which can be clearly seen in the step1 image.
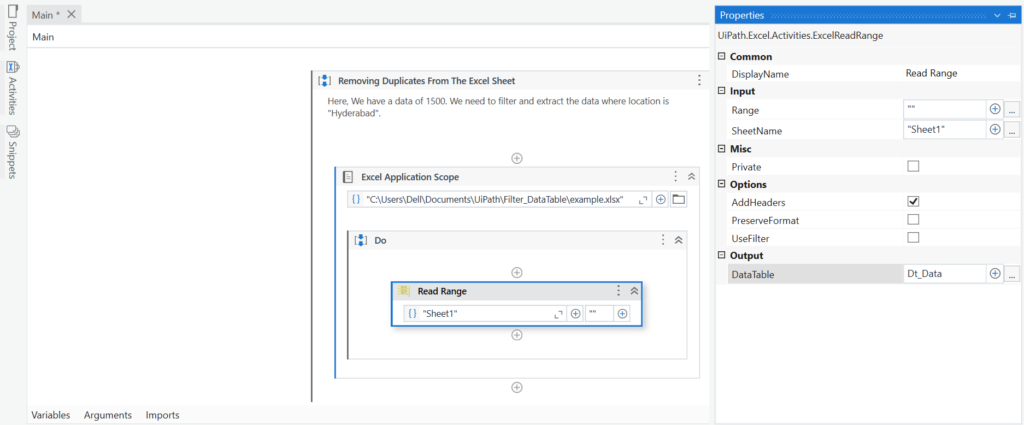
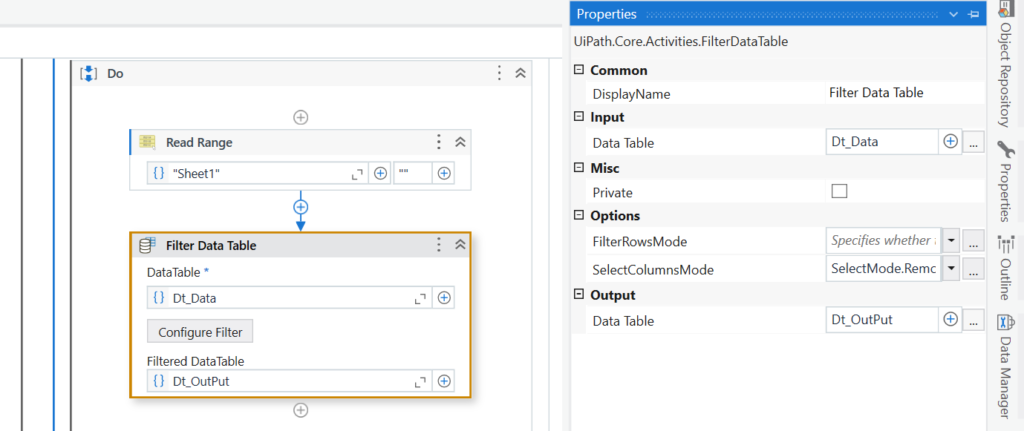
In the Property Panel of Read Range Activity, save the output field into a variable called Dt_Data.
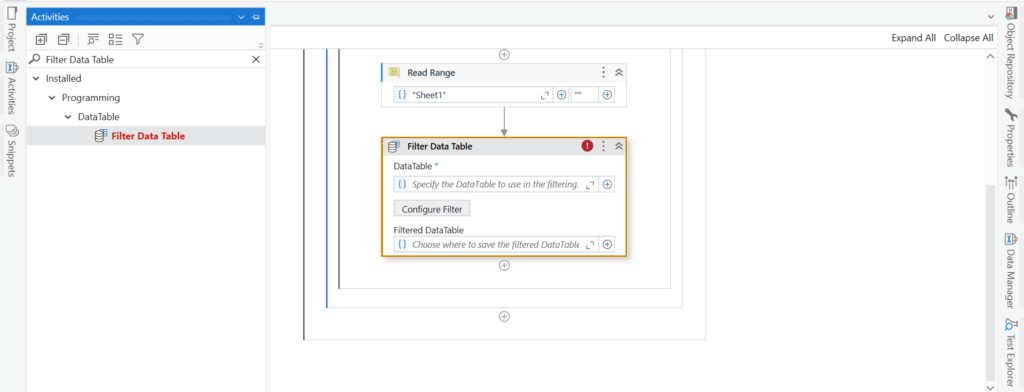
Step – 4: Filter Data Table Activity
Add a “Filter Data Table“ activity after the Read Range activity.
Step – 5: Adding Input To Filter DataTable
In the Filter Data Table activity, specify the input DataTable variable that contains the data from Excel. Here, The INPUT DataTable will be the output of Read Range Activity because it is what we want to be filtered.

Step – 6: Property Panel For Filter DataTable
Configure the Filter Data Table activity by setting the following properties:
- DataTable: Input the data table variable you want to filter.
- OutputDataTable: Create a new DataTable variable to store the filtered data.
- Filter Wizard: Click on the “Open” button to configure the filter conditions.
Step – 7 : Using Filter Conditions Based On Requirements
In the Filter Wizard or Configure Filter Button, you can set one or multiple filter conditions based on your requirements. For example, you can filter based on a specific column value, such as “Column1 = ‘Value1′”. You can add multiple conditions using the “Add Condition” button.
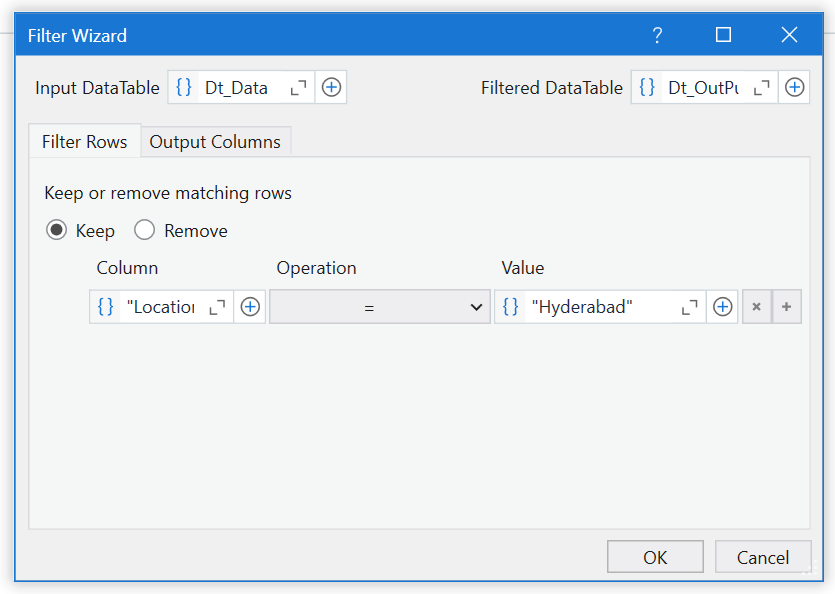
Here, I have given the condition keep “Location” = “Hyderabad”
Step – 8 :
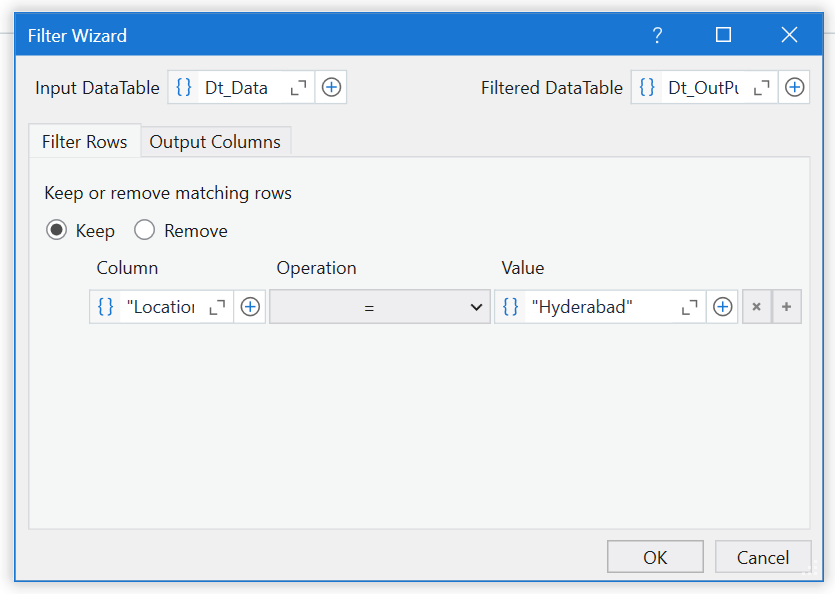
Once you have configured the filter conditions, click on the “OK” button in the Filter Wizard.
Step – 9: Using The Output As Required
After the Filter Data Table activity, you can use the filtered Data Table variable as per your requirement. For example, you can write the filtered data back to another Excel file using the “Write Range” activity or perform further processing on the filtered data.

In this example, I am using write range activity to write the data into the same file but in a different sheet named “Hyderabad”.
Remember to save the Excel file before running the automation. Additionally, make sure to install the required UiPath packages related to Excel automation if they are not already installed.


